Making homemade ice cream might seem like a task reserved for those with fancy machines, but it’s actually easy to create your own creamy, delicious ice cream at home without the need for an ice cream maker. Whether you don’t have the machine on hand or just want to try something more hands-on, here’s a simple guide to making homemade ice cream in just a few easy steps. Get ready for a fun and rewarding experience that will leave you with the best ice cream you’ve ever tasted!
Ingredients
To make a basic no-churn ice cream, you’ll need the following ingredients:
- 2 cups of heavy whipping cream (chilled)
- 1 can (14 oz) of sweetened condensed milk
- 1 teaspoon of vanilla extract (or other flavorings like chocolate or fruit)
- A pinch of salt (optional, to enhance the sweetness)
Optional mix-ins:
- Chopped chocolate
- Crushed cookies or candy
- Fresh fruit (like berries or mango)
- Caramel or fudge sauce
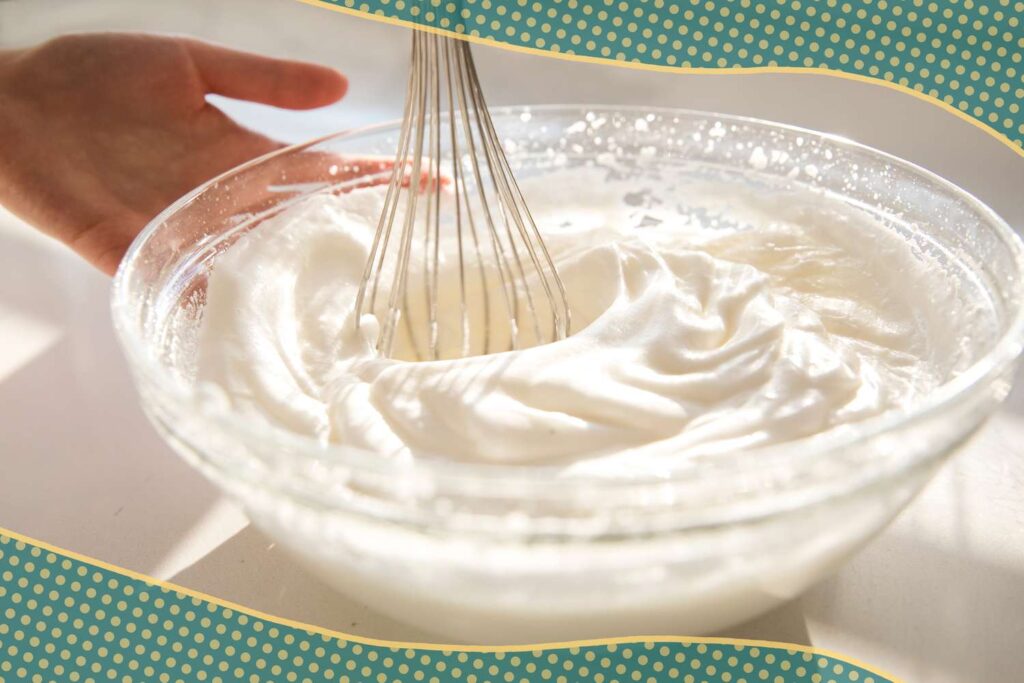
Step 1: Whip the Heavy Cream
Start by chilling your mixing bowl and beaters in the freezer for about 10 minutes before you begin. This helps the cream whip faster and gives you a fluffier texture. Pour the heavy whipping cream into the chilled bowl and begin whipping it with an electric mixer on medium-high speed. Continue until soft peaks form, meaning the cream should stand up but still have a slight droop when you lift the beaters.
It’s important not to overwhip the cream, as it can turn into butter. So, stop once the peaks hold their shape but aren’t stiff and grainy.
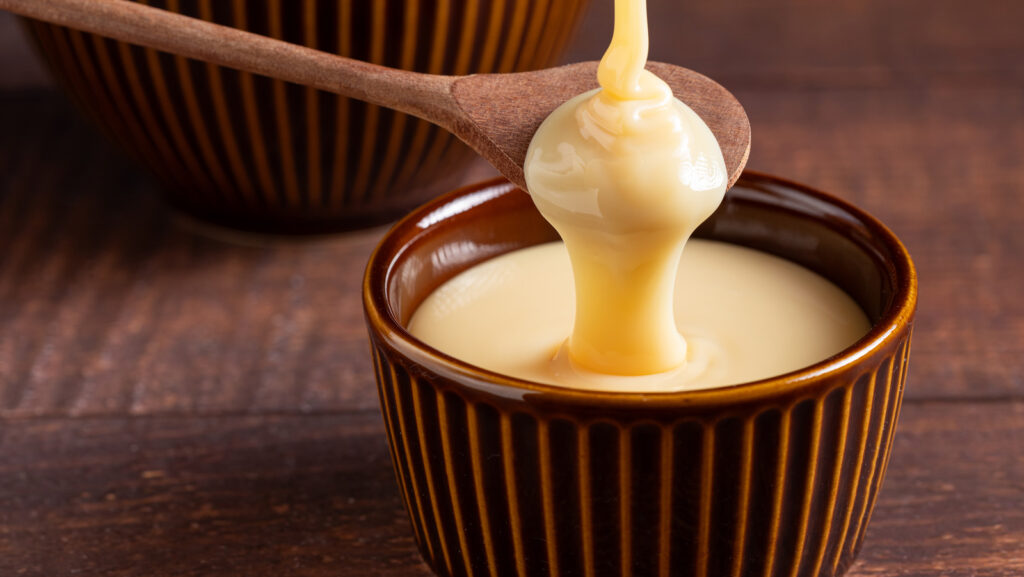
Step 2: Mix in the Sweetened Condensed Milk
Next, take your can of sweetened condensed milk and pour it into the whipped cream. The sweetened condensed milk adds the perfect amount of sweetness and creaminess to the base of your ice cream.
Gently fold the condensed milk into the whipped cream using a spatula. Do this carefully so you don’t deflate the whipped cream. The mixture should remain light and airy.
Step 3: Add Flavorings
At this stage, you can add any flavorings you desire. Vanilla extract is a classic addition, but feel free to get creative. You can swirl in fruit purees, chocolate syrup, or even a spoonful of peanut butter for a rich, nutty flavor. For chocolate lovers, cocoa powder or melted chocolate can be added to the mix for a deep, indulgent taste.
Don’t forget to add a pinch of salt! This small touch enhances the flavors and brings out the sweetness.
Step 4: Mix in Your Add-ins
Once you have your basic ice cream mixture ready, it’s time to fold in any mix-ins you want. This can be anything from crushed cookies (think Oreos or graham crackers) to chunks of chocolate or candy. If you prefer fruity ice cream, add fresh berries, diced peaches, or even a swirl of strawberry jam. Stir gently to incorporate the mix-ins without deflating the whipped cream too much.
This is where you can get creative and make your ice cream truly your own!
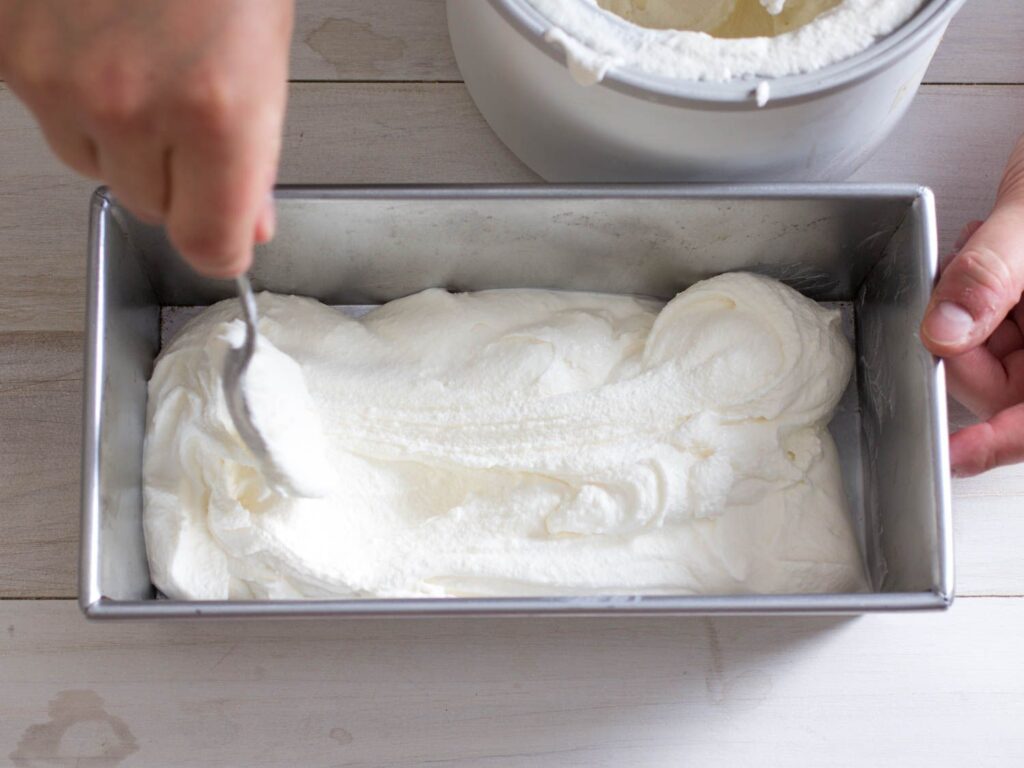
Step 5: Freeze the Ice Cream
Transfer the ice cream mixture into a loaf pan or any airtight container you have on hand. Smooth out the top with a spatula so it’s evenly spread. Cover the container with plastic wrap or a tight-fitting lid and place it in the freezer.
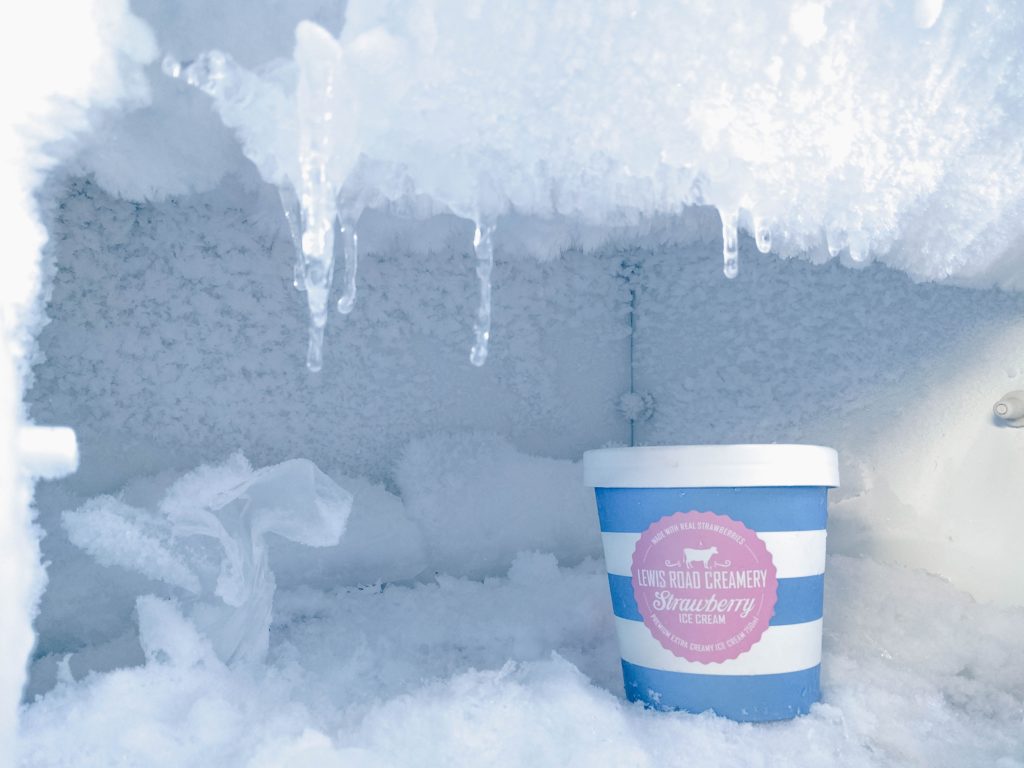
Let the ice cream freeze for at least 4 hours, or preferably overnight, until it becomes firm and scoopable. The freezing time can vary depending on your freezer, but it’s essential to give it enough time to set properly.
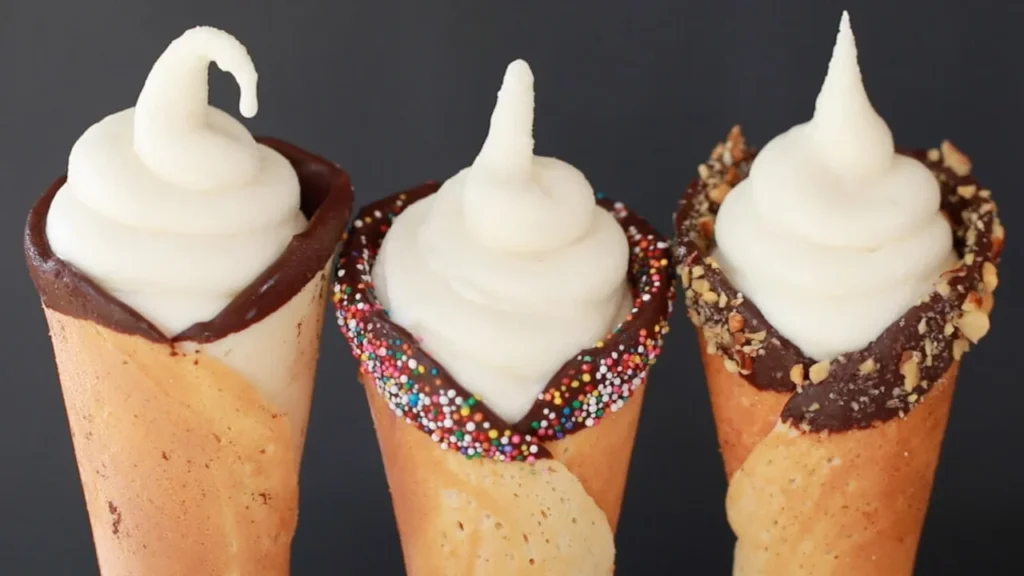
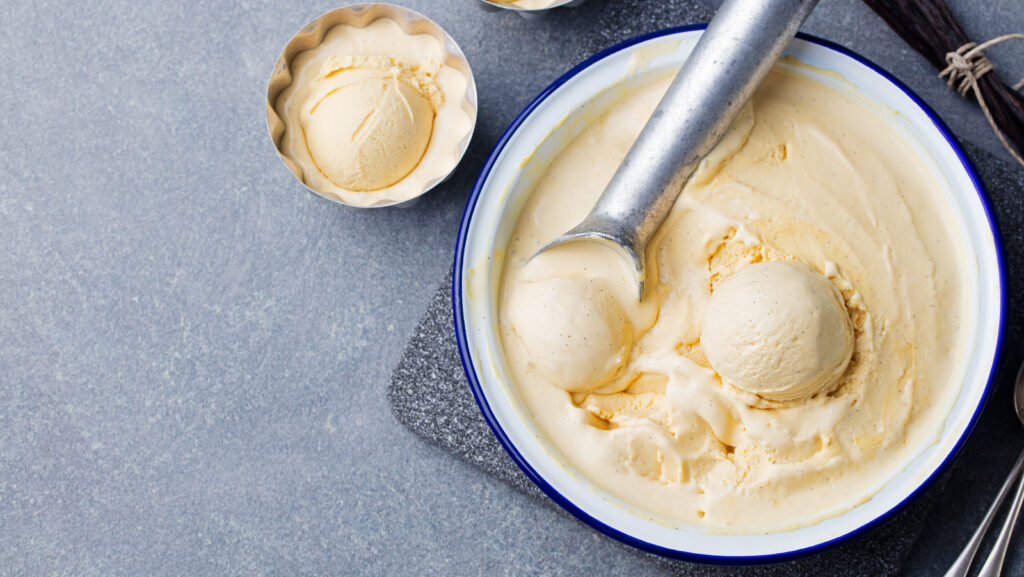
Step 6: Scoop and Serve
Once your homemade ice cream is fully frozen and set, it’s time to scoop! You can use a warm spoon (dip it in hot water) for easier scooping, especially if the ice cream is extra firm. Serve in bowls or cones, and enjoy!
If you want to get even fancier, drizzle some homemade caramel, chocolate sauce, or fresh fruit on top for an extra special treat. Your homemade ice cream is now ready to enjoy, and no one will ever believe you didn’t use an ice cream maker!
Tips and Variations
- Flavor Options: You can create virtually any flavor you like. Some favorites include chocolate chip, cookies and cream, or even coffee-flavored ice cream. Just remember that the base of whipped cream and condensed milk works as a neutral canvas to build from!
- Make It Dairy-Free: If you’re looking for a dairy-free alternative, substitute the heavy cream with coconut cream (the thick cream from a can of coconut milk) and use a non-dairy sweetened condensed milk or maple syrup for sweetness.
- Add Texture: For a fun texture, mix in crushed ice cream cones, nuts, or even marshmallows. Don’t forget to fold them in gently to maintain the airy consistency of your base.
- Swirls and Sauces: For a marbled look, drizzle in fudge, caramel, or fruit compote, then swirl it through the ice cream with a spatula before freezing.